

by Editor

A verified Facebook Business Manager comes with several important advantages, opening access to additional features and tools on Facebook that might be unavailable to unverified accounts. This could include access to the Audience Network and the ability to create up to 10 advertising accounts in different countries.
Additionally, a verified Business Manager may gain an advantage in the ad auction ranking on Facebook, potentially improving the effectiveness of your advertising campaigns and reducing ad placement costs.
In this article, we'll go step-by-step through the process from creating a Business Manager to submitting documents for verification.
Creation of a Fan Page
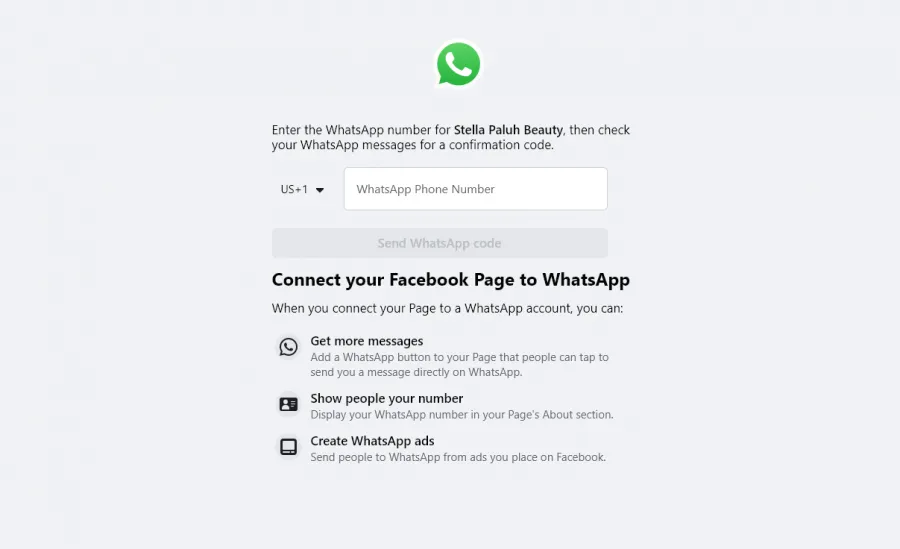
To expedite the verification process, it’s necessary to create a product Fan Page and fill it out as relevant to your offer as possible. Based on the created page, activate the Business Manager using WhatsApp Business.
Working with Business Manager
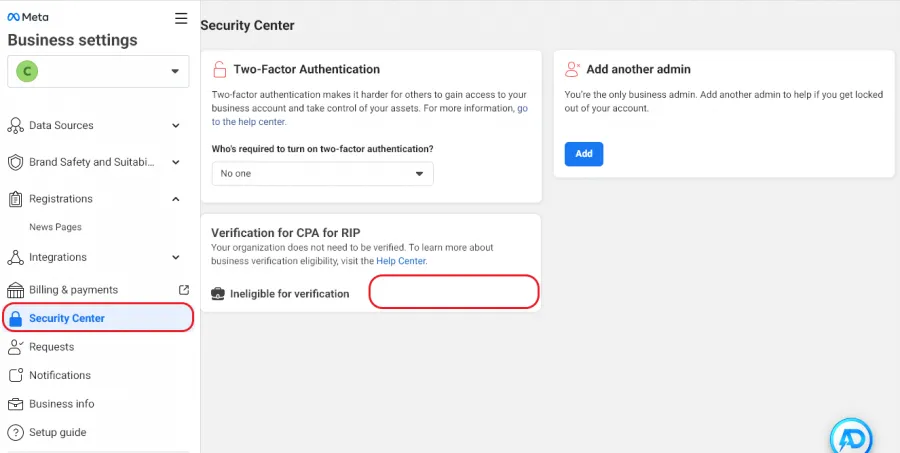
When activating the Business Manager, we need to verify it. By default, this option will be unavailable:
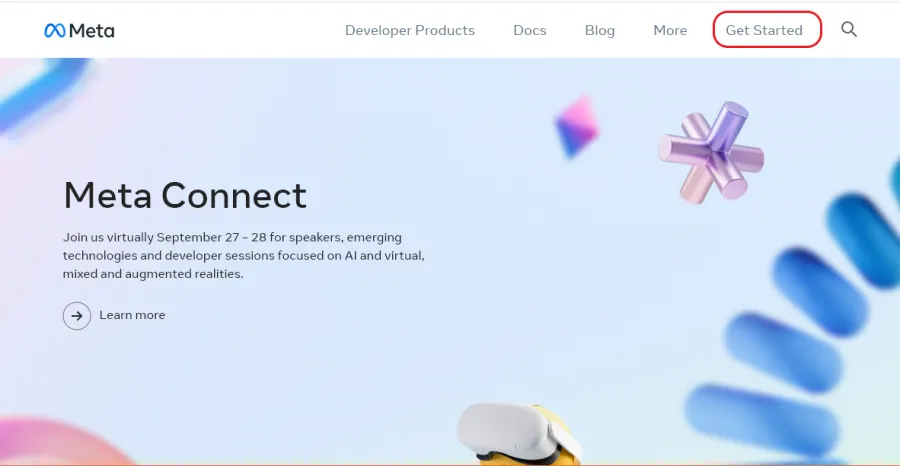
To activate this option, you need to create an application. To do this, go to Facebook Developer to the user interface after completing all the registration steps:
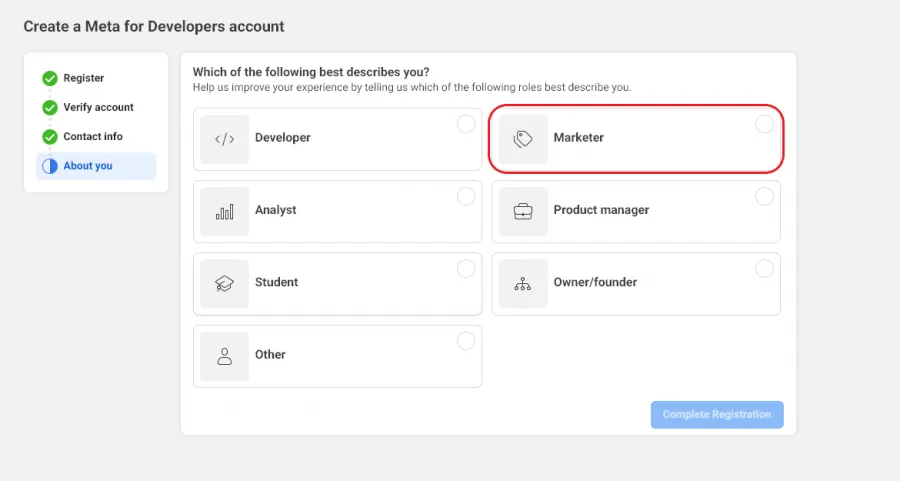
For successful registration completion, select the Marketer option from the menu:
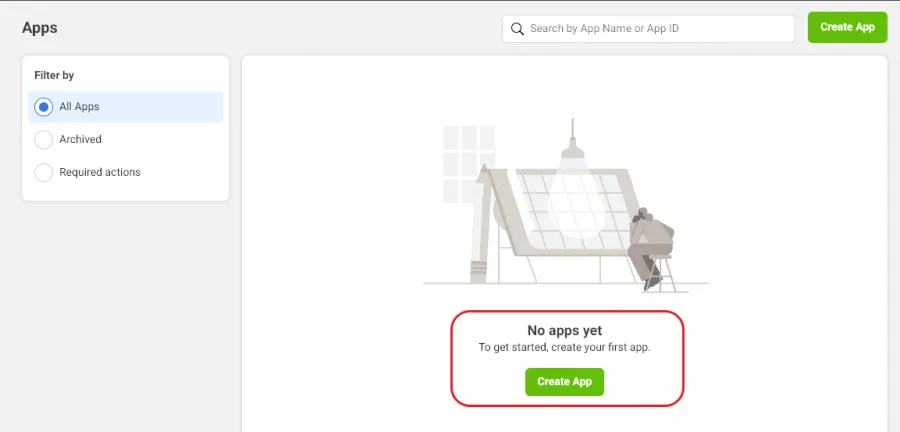
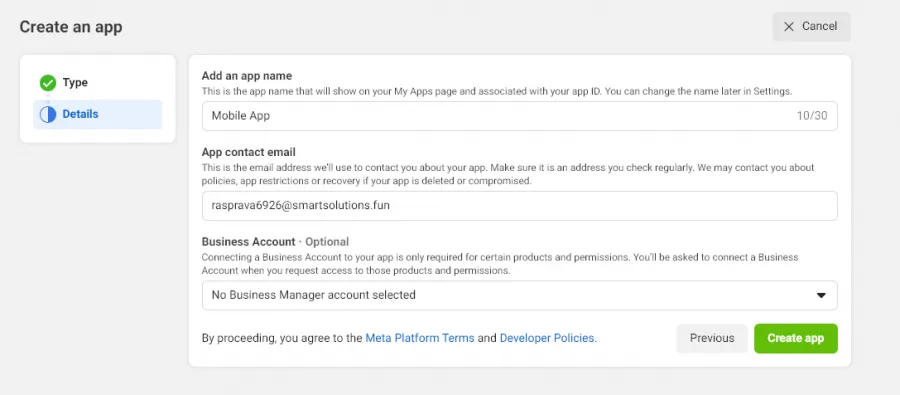
After logging into the META Developer service as a marketer, you need to create an app:
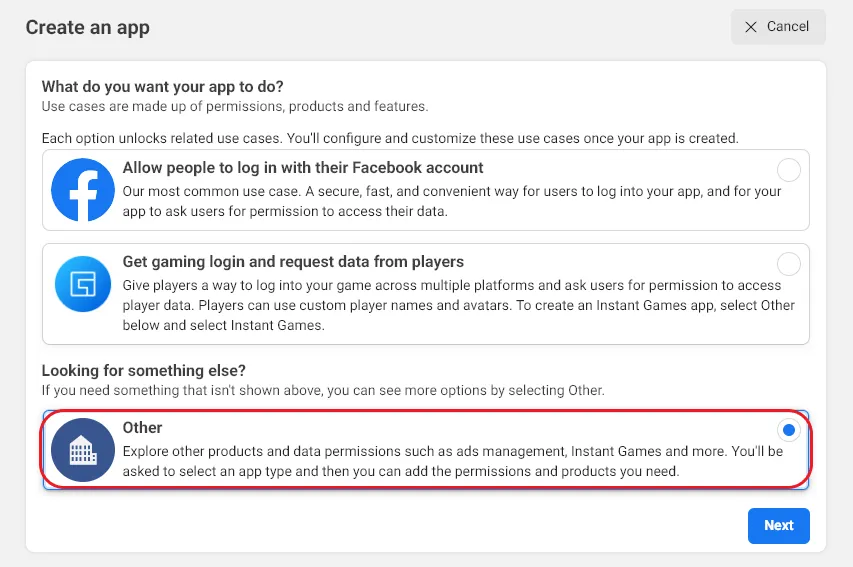
When creating the app, choose the menu item Looking for something else? - Other:
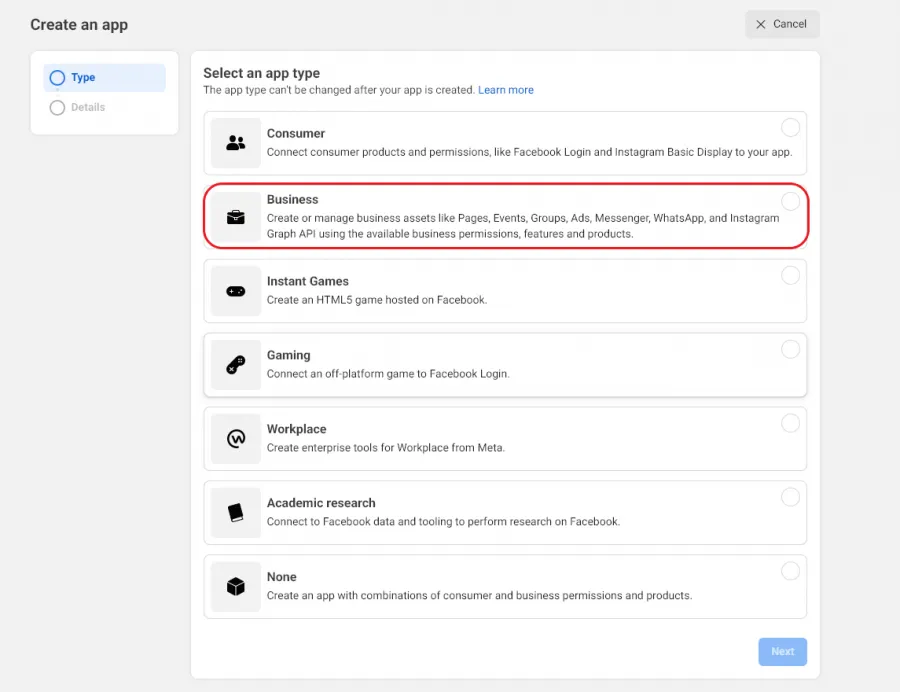
Next, select the option indicating that the app relates to Business:
The last step is necessary to assign a name to your application:
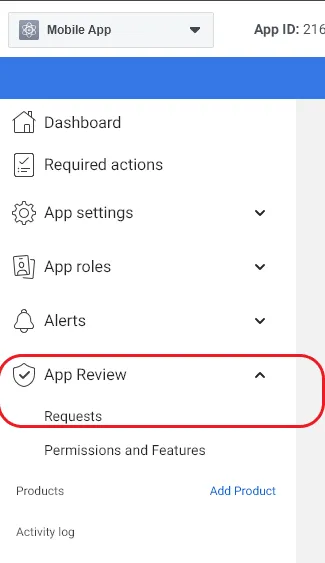
Once the app is successfully created, you need to add the main functions to it. To do this, choose App Review - Requests:
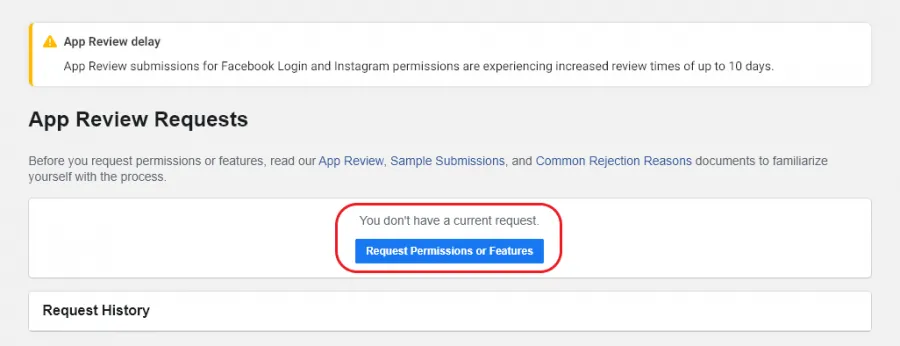
Then confirm the request for the app's main functions:
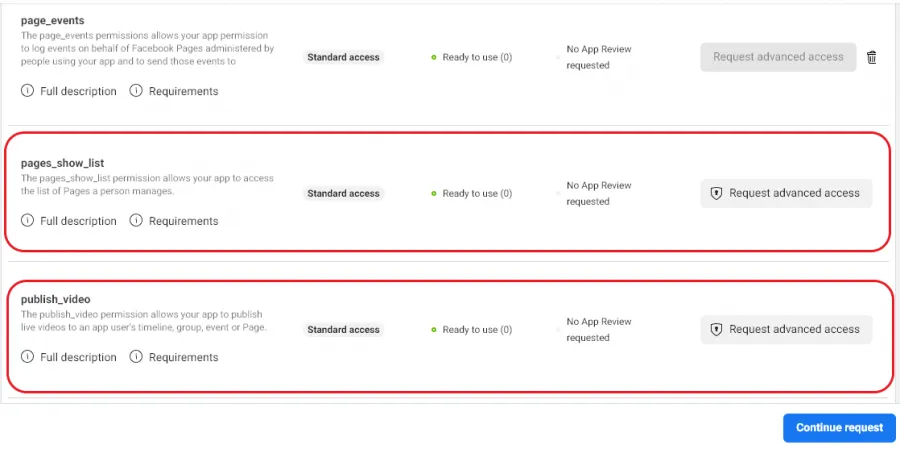
In the main menu, select the items: publish_video, pages_show_list, and activate continue request:
In the next menu to activate the application functions, you need to select Submit business verification and choose the BM for verification in the pop-up window:
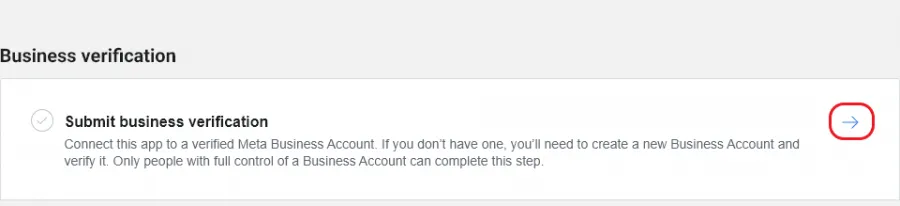
This way, we activate the BM verification option in the Security Center of the main interface:
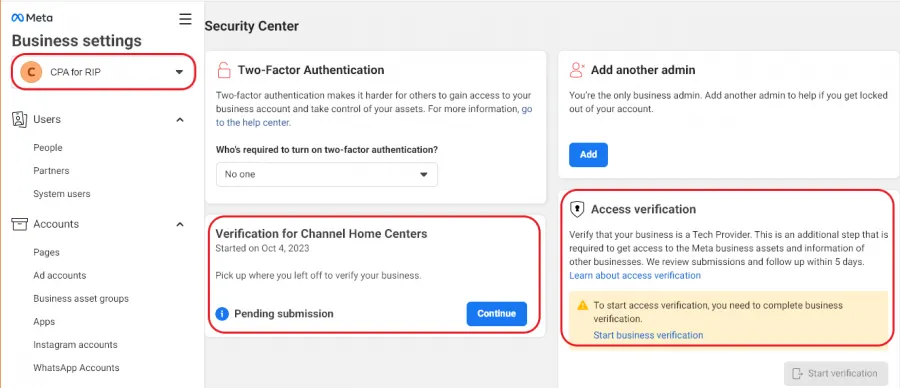
After activating this option, you need to prepare the necessary documents for verification:
- Company information statement.
- Fake person generator.
- Temporary email.
- Address where the office could theoretically be located.
- A number for activation (5sim).
After successfully uploading all the required documents, the BM will be verified within 2-3 business days.
Conclusion
META has tightened their document verification methods due to the verification of profiles and the transition to a paid subscription. Therefore, you need to find reliable information, fill in the fields correctly, and create a quality document.
by Editor

comments ....(0)
Leave a comment
You must be in to leave a comment