


by Editor
Beginners, who haven’t previously engaged in internet marketing, will have to face many technical challenges. One of them is dealing with domain and hosting. Firstly, it is not immediately clear why they are needed, and secondly, buying, configuring, and using all of this seems like an overwhelming task.
In short, a domain and hosting are essential if you are driving traffic to a landing page. Without a dedicated hosting server, you won't be able to connect a server tracker and, consequently, optimize your advertising campaign (therefore increase profit).
Below, we’ll explain in detail how to connect Keitaro and Binom trackers to the server, how to choose a domain, and how it all works together.
Hosting server
VDS (Virtual Dedicated Server) / VPS (Virtual Private Server) — is a virtual dedicated server provided by hosting for rent. Why do we need it? Its main task for us, as webmasters, is primarily the installation of a tracker.
In the market, there are two popular solutions for server trackers: Keitaro and Binom. Both of them require a dedicated server. It may all seem complicated at first, but if you know how to find information on the internet and press ctrl+c and ctrl+v, there won't be any problems.
At this point, everything may already seem complex, but if you know how to find information on the internet and press ctrl+c and ctrl+v, there won't be any problems.
Let's break it down using DigitalOcean as an example, a cloud infrastructure provider, and Keitaro.
Servers have different processor powers and memory capacities. If we want to install Keitaro, we go to the FAQ and check which configurations will suit us. And here is the complete installation guide for Keitaro.
But today, we're not talking about how to install the tracker; we're discussing working with VDS/VPS and how to connect to your server for further operations.
Let's assume we have chosen and paid for a suitable server, what's next? Next, we need to connect to the server via SSH. I’ll demonstrate how to do this on two systems (Windows and MacOS).
Connecting to the server on Windows
Copy the IP address of our server and open the PuTTY application.
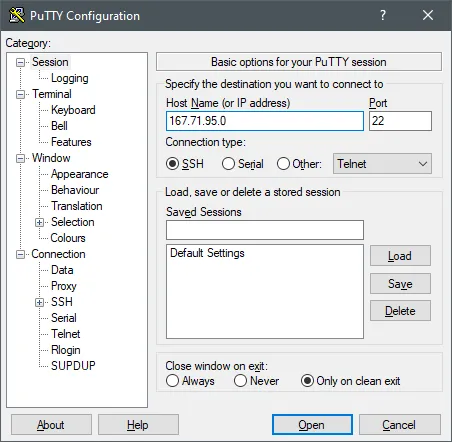
Paste the IP of our server into the Host Name field and click Open. Upon the first connection, we’ll see a pop-up window like this.
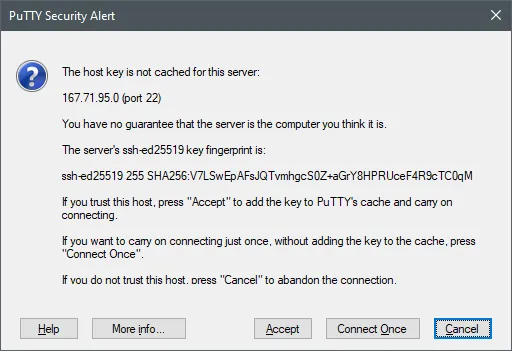
Click Accept.
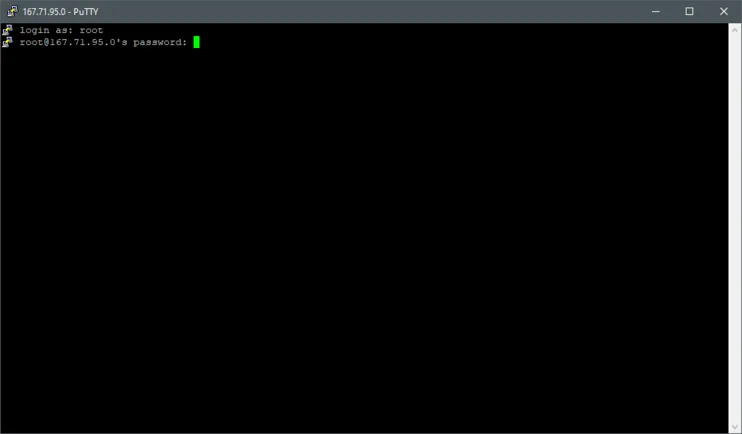
In the Login field, enter “root”, and in the Password field, enter the password. Note that when entering the password, the characters will not be displayed. Enter the password and press Enter. That's it, we’ve accessed our server, and it looks like this:
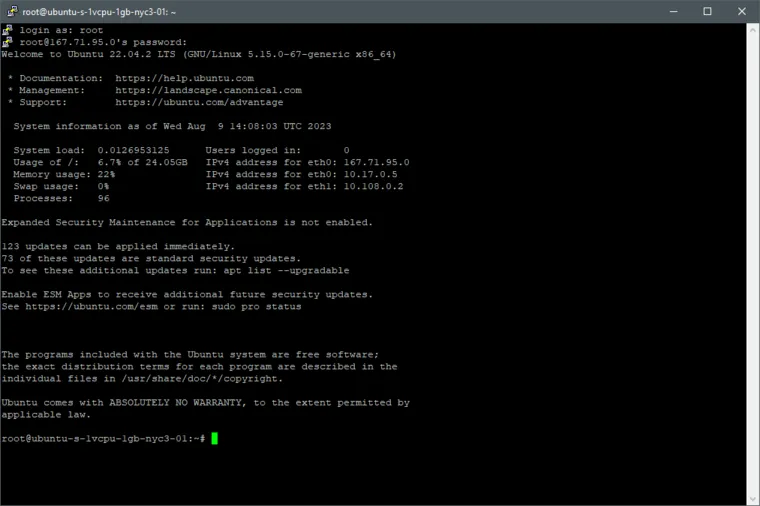
Any further installations on the server will take place in this window. Don't be afraid that it all looks scary and confusing. Trust me, you won't need to do anything super complicated with this, just simple “copy/paste”.
Connecting to the server on MacOS
Similarly, copy the IP of our server and open the terminal. In the terminal, type “ssh root@server_IP” and press Enter.
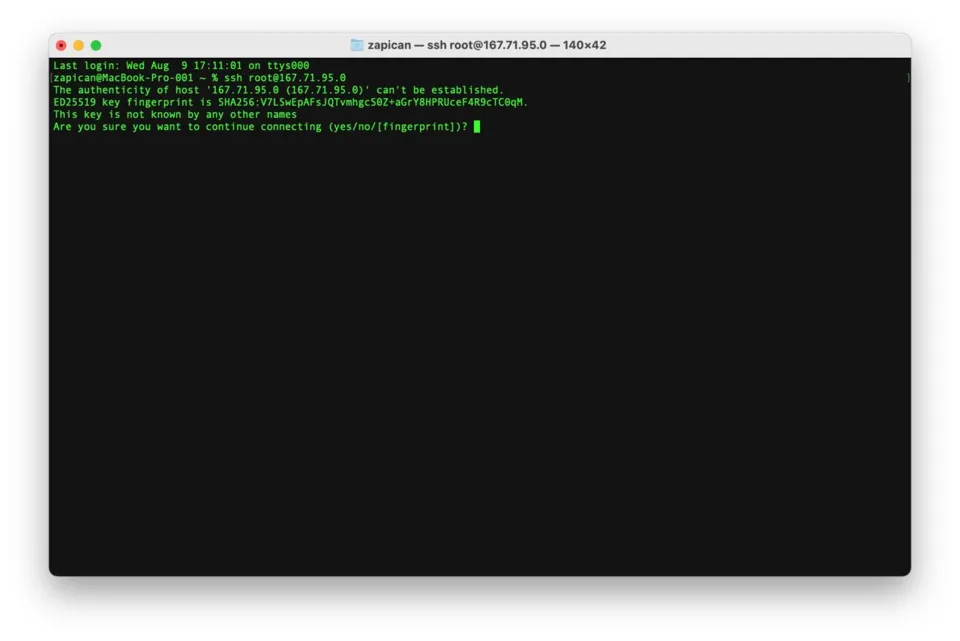
Next, type “yes” and press Enter. Enter the password and press Enter (characters won’t be displayed). That's it, we have connected to our server.

Choosing a server for rent
What to consider when selecting a server for tracker installation. The first thing is the GEO location of the server. Try to choose a location closest to the country where you’ll run your advertising. If the server and your target GEO are too far apart, your pre-lander/landing page may load too slowly, increasing the likelihood that the user won’t wait for the page to load and will simply close it.
The second aspect I want to draw attention to: always check that IPv6 is not blocked on your server. Otherwise, you may lose a portion of the traffic that comes specifically from IPv6, and you’ll sit for a long time not understanding why your traffic is disappearing.
Which providers to choose? Personally, I’ve used the following list:
And now, finally, we can move on to the second part of the article.
What is a domain and how to choose one
Domains, what are they? A domain is the name of your website, for example, the domain affjournal.com where this article is hosted. Webmasters use domains for hosting landing pages for offers, pre-landers, and more. The process looks like this: we purchase a domain and connect it to our server with a tracker.
Domains are hosted in different zones: there are international domains (.com), national ones (.ru, .ua), thematic or gTLD domains (.academy, .adult). Domain names can also differ in how they are obtained. This influences an important criterion — the domain's history.
- Fresh ones — recently registered. These are domains that we registered ourselves through a domain registrar;
- With history — a domain whose lease has already ended, and now it can be purchased; you can check whether this domain has been used on Facebook or not here;
- Dumped/lost ones — an option for a cheap domain in the top-level domain zones.
In the case of the last option: the lease period for these domains has not yet expired, but they can be purchased and used on your server to drive traffic. However, there is a significant downside – it can be taken away at any moment when the owner notices it being used for another site. Let's say you launched an ad, your account started giving very good ROI, and the domain dropped. That’s it — your efforts go to waste. Since this domain is no longer tied to our server, our user won’t reach our pre-lander/landing page.
Domain registration
To avoid sitting around and coming up with names, I use a website for generating domain names.
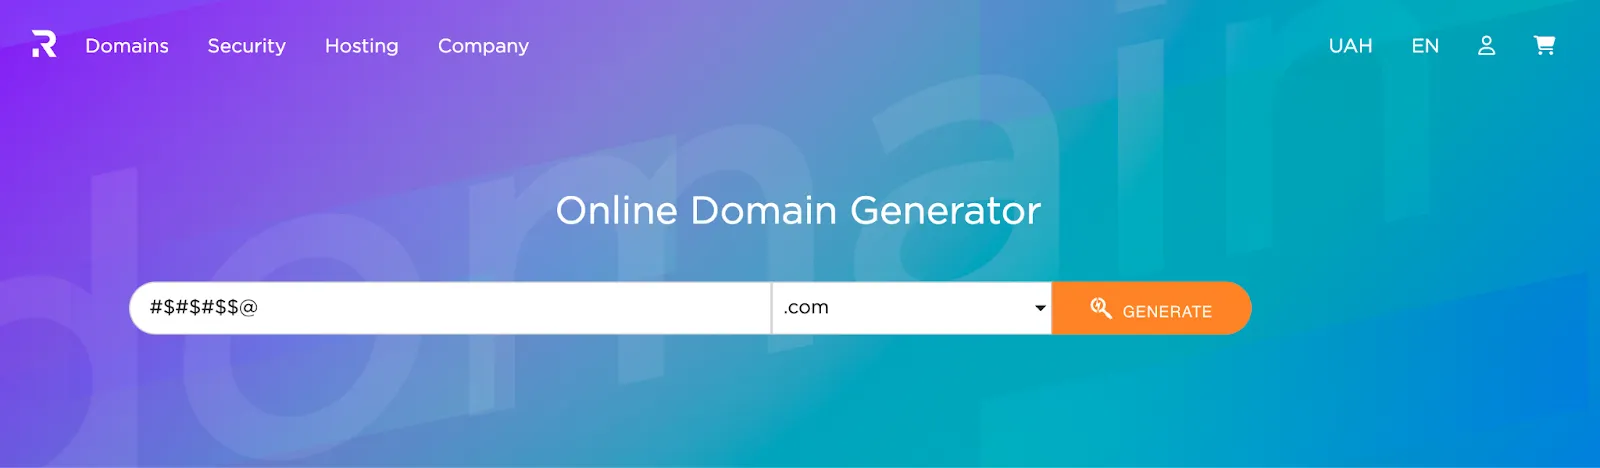
It's all simple here. Choose the desired domain zone and click “create”, and the website generates domains for us.
Next, you need to go to the registrar and simply register them. You can use NameCheap or, in our case, RegRu.
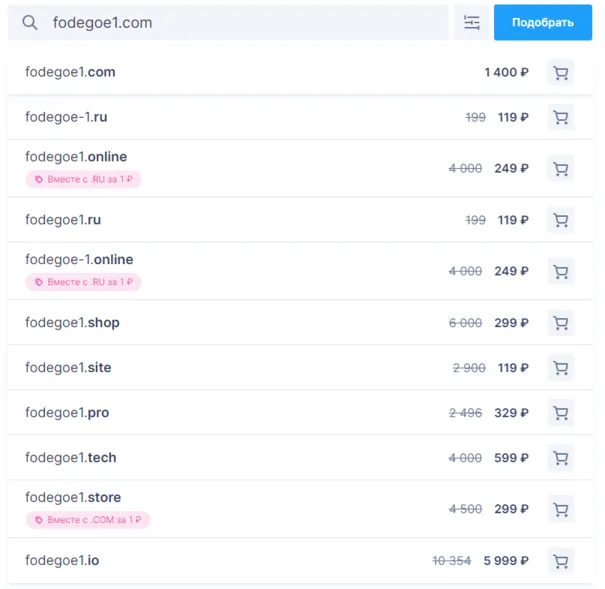
I'll demonstrate using RegRu as an example. Copy the generated domain and paste it on the website in the registration field, then click “Pick up”.
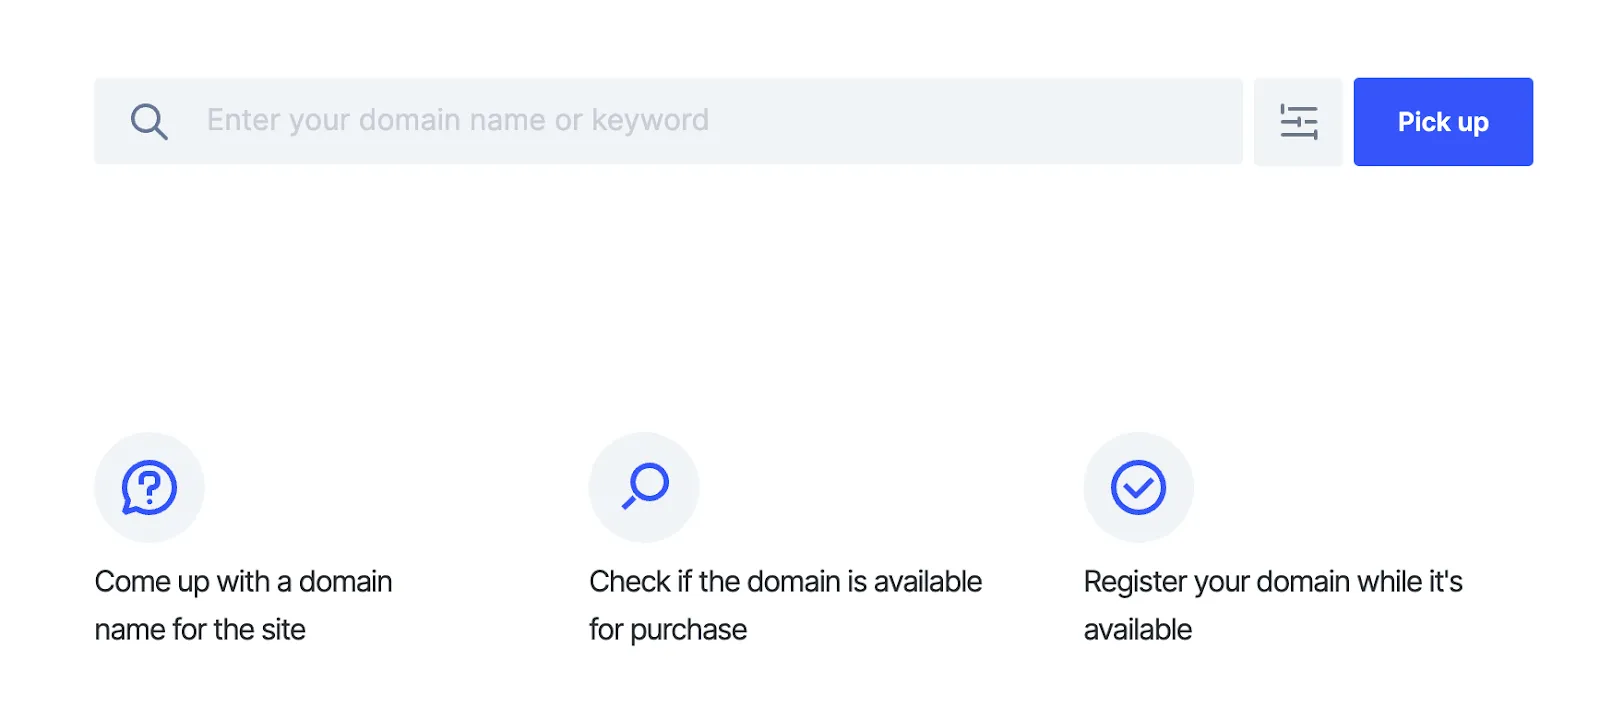
Select the one that suits us best and click “buy”.
After payment, update the domain information with the necessary details and wait for the domain to be ready for use.
I also want to add that you can link the domain either directly to our server with the tracker or to the Cloudflare service.
Cloudflare registration
Personally, we recommend using this service. It proxies traffic and hides the real IP of your server. In our case, this is beneficial because we won't be revealing our IP to Facebook.
Imagine this: you've launched 50 advertising campaigns, and Facebook sees the same IP address for all of them. Similarly, it notices that it bans all the ads leading to this server. For Facebook, this is a trigger, and there's a chance it’ll ban you not because it dislikes the creative or cloaking, but because it has banned too much advertising leading to that server.
Registering on Cloudflare is quite simple: go to the website and choose Sign up.
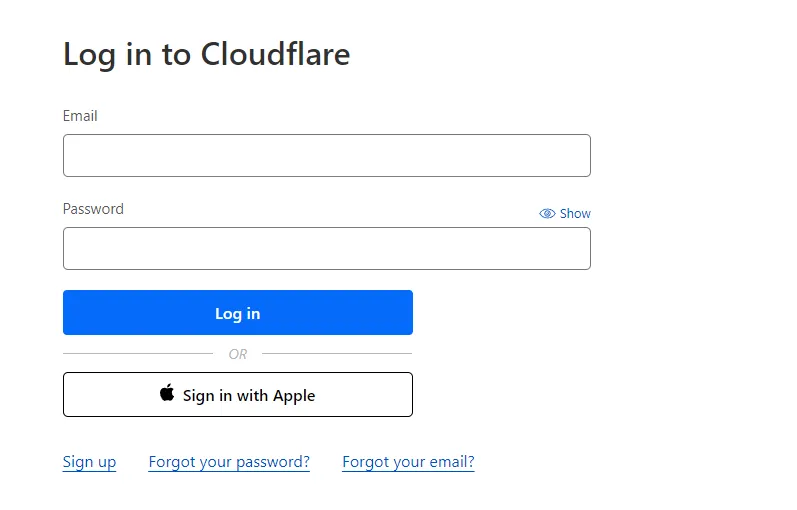
Go to any site with temporary email generation for 10 minutes, paste it into the email field, and create a password.
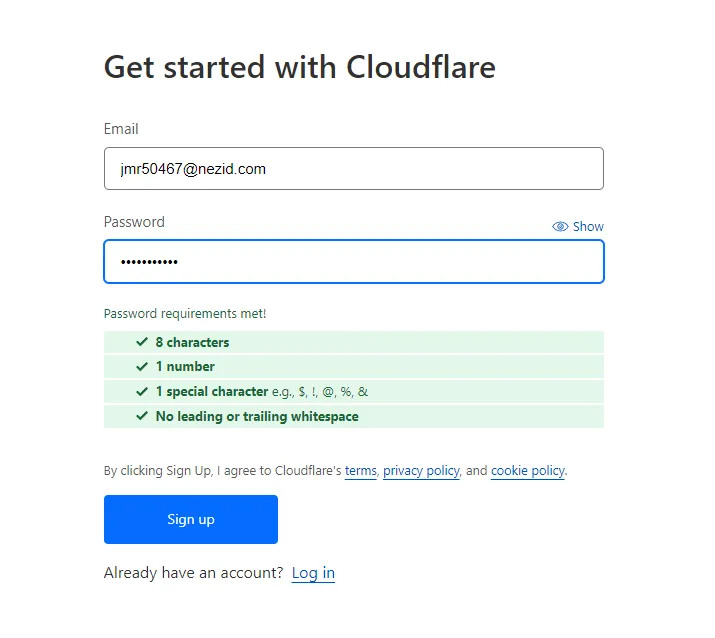
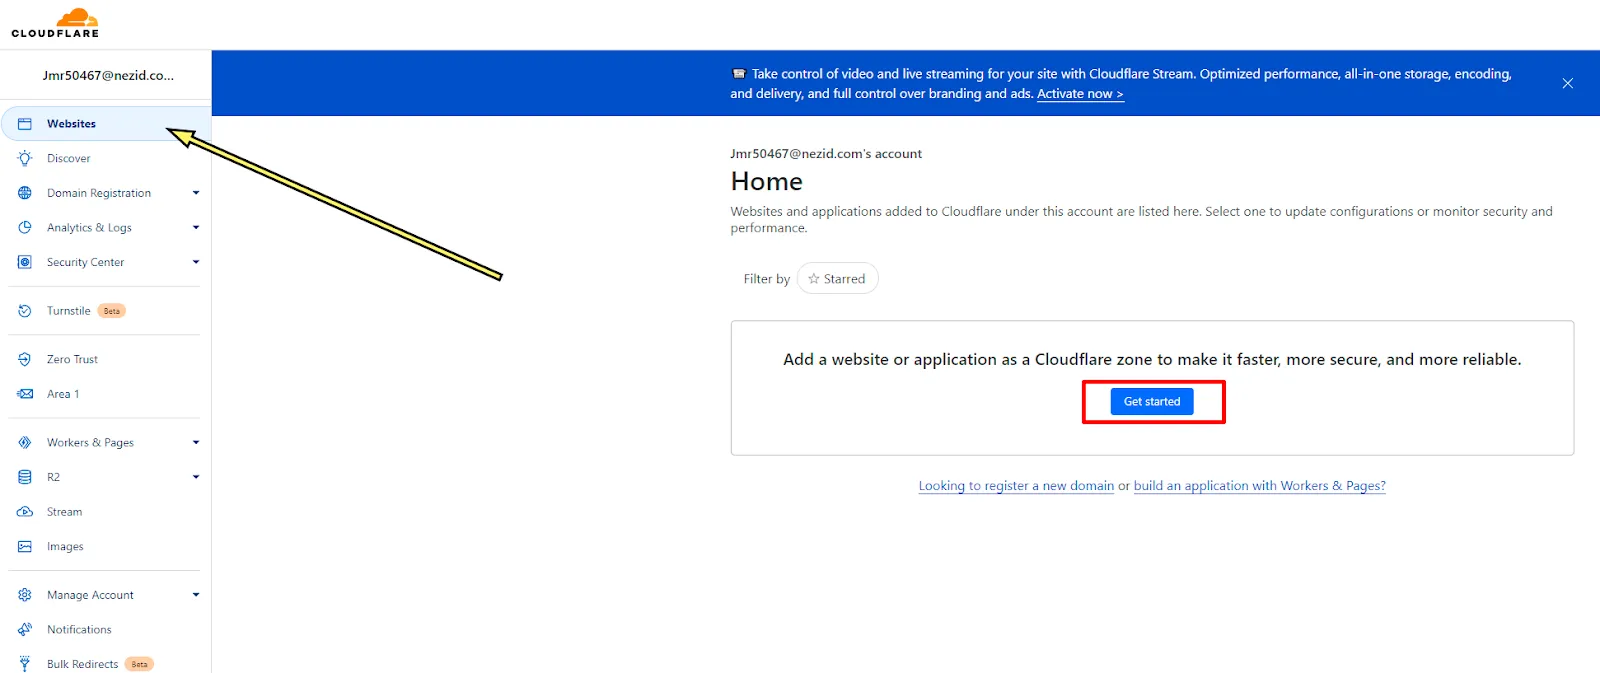
Click Sign up and confirm the account through the message sent to the 10-minute email. Then go to the Websites tab and click the Get started button.
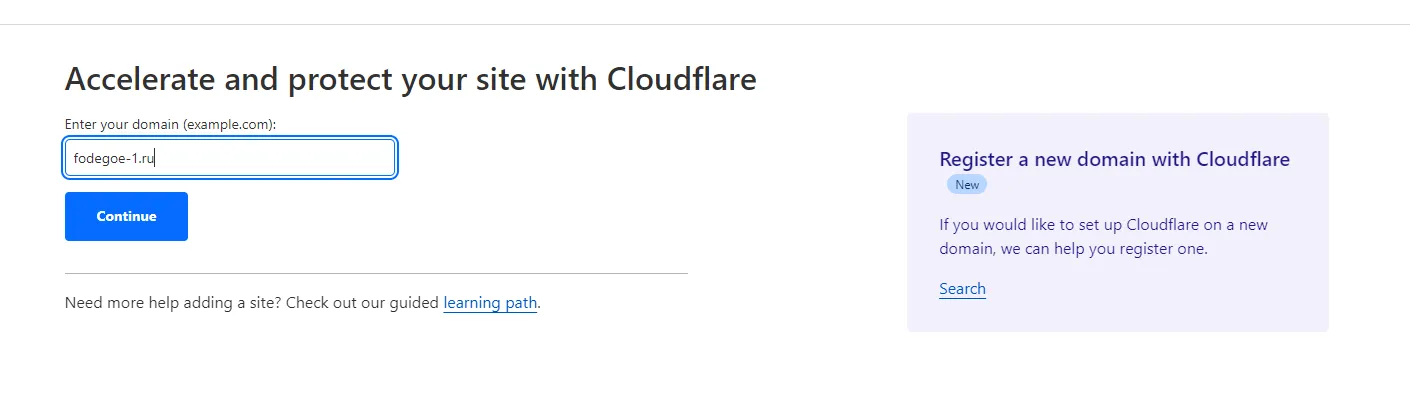
Enter your domain and click Continue.
Choose the free plan (it’ll be sufficient for us) and click Continue.
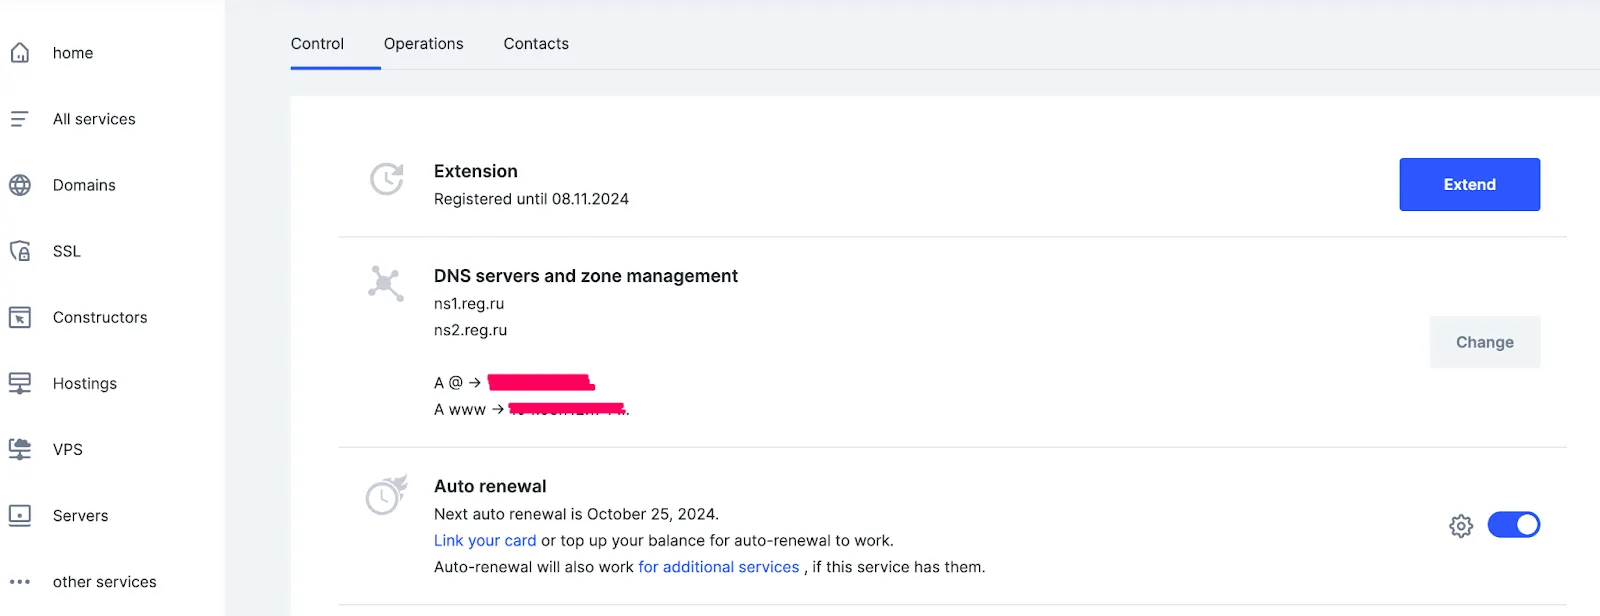
Follow the instructions. After that, go to your registrar and change the DNS records.
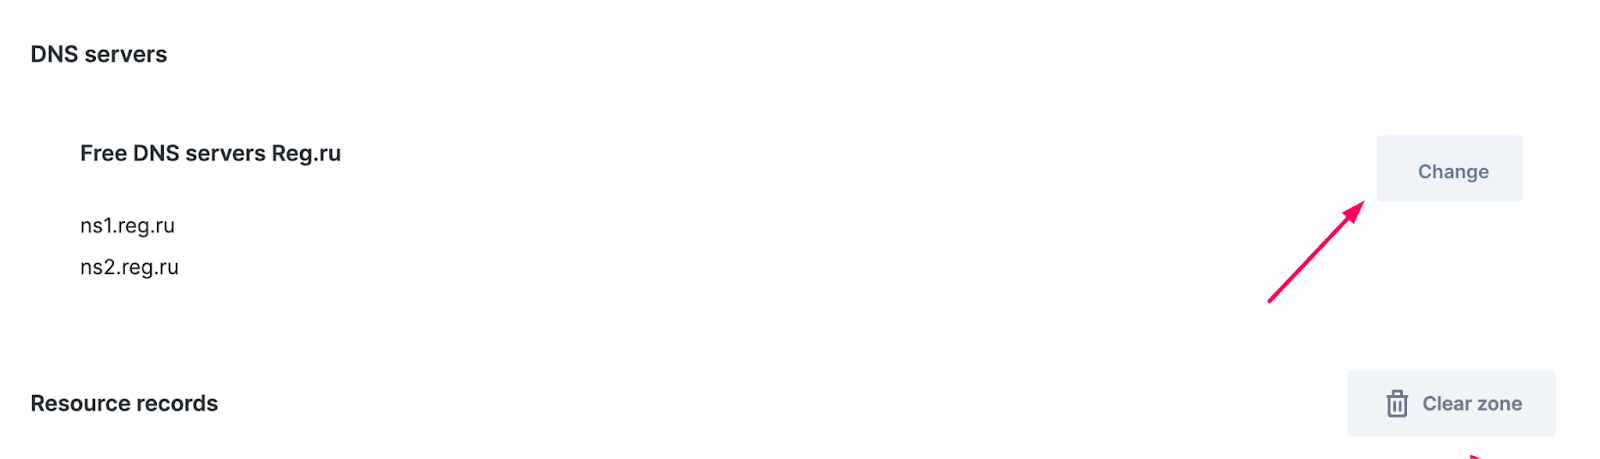
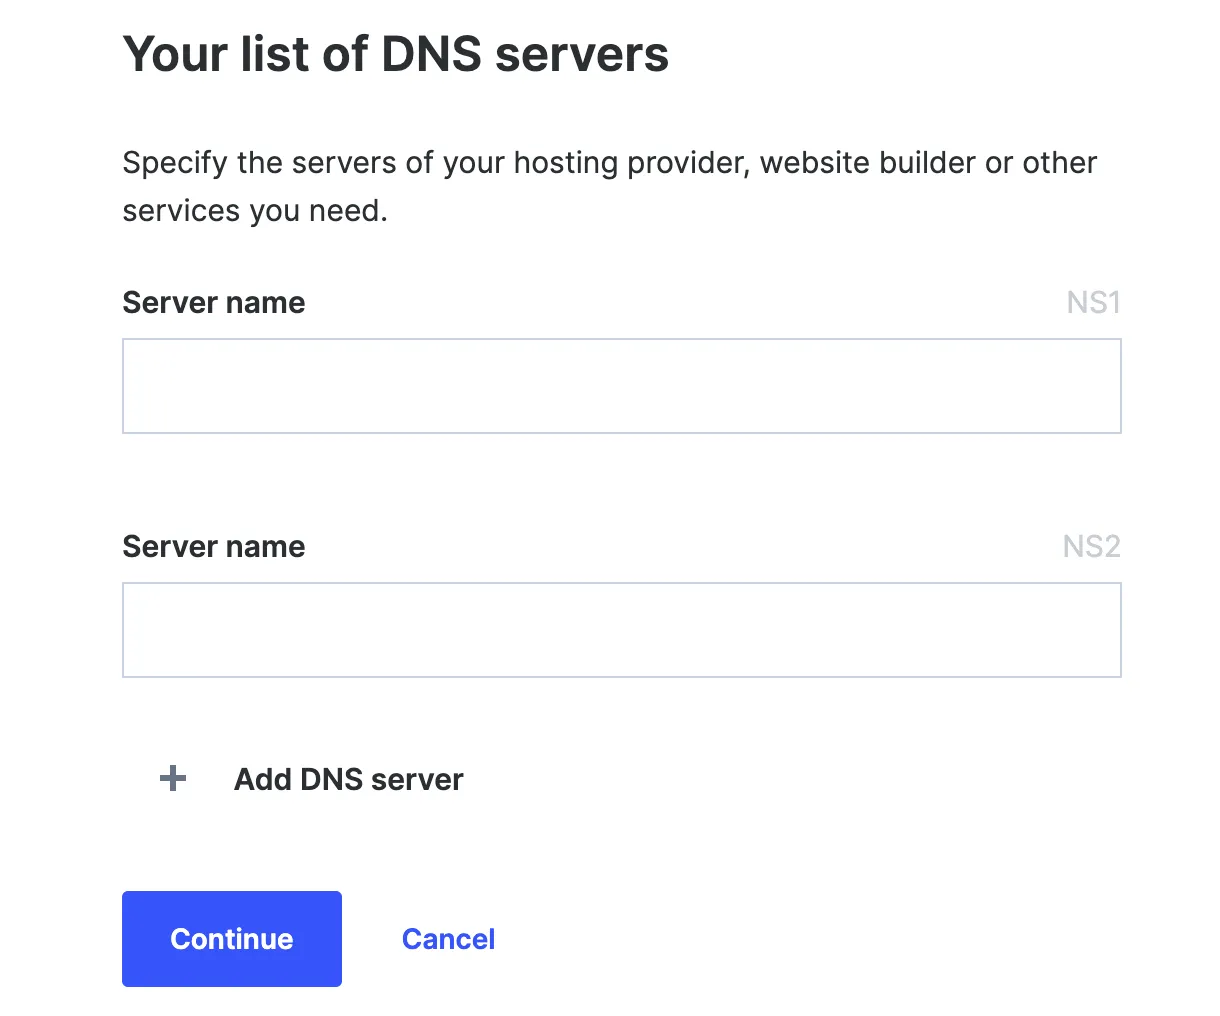
Choose your list of DNS servers.
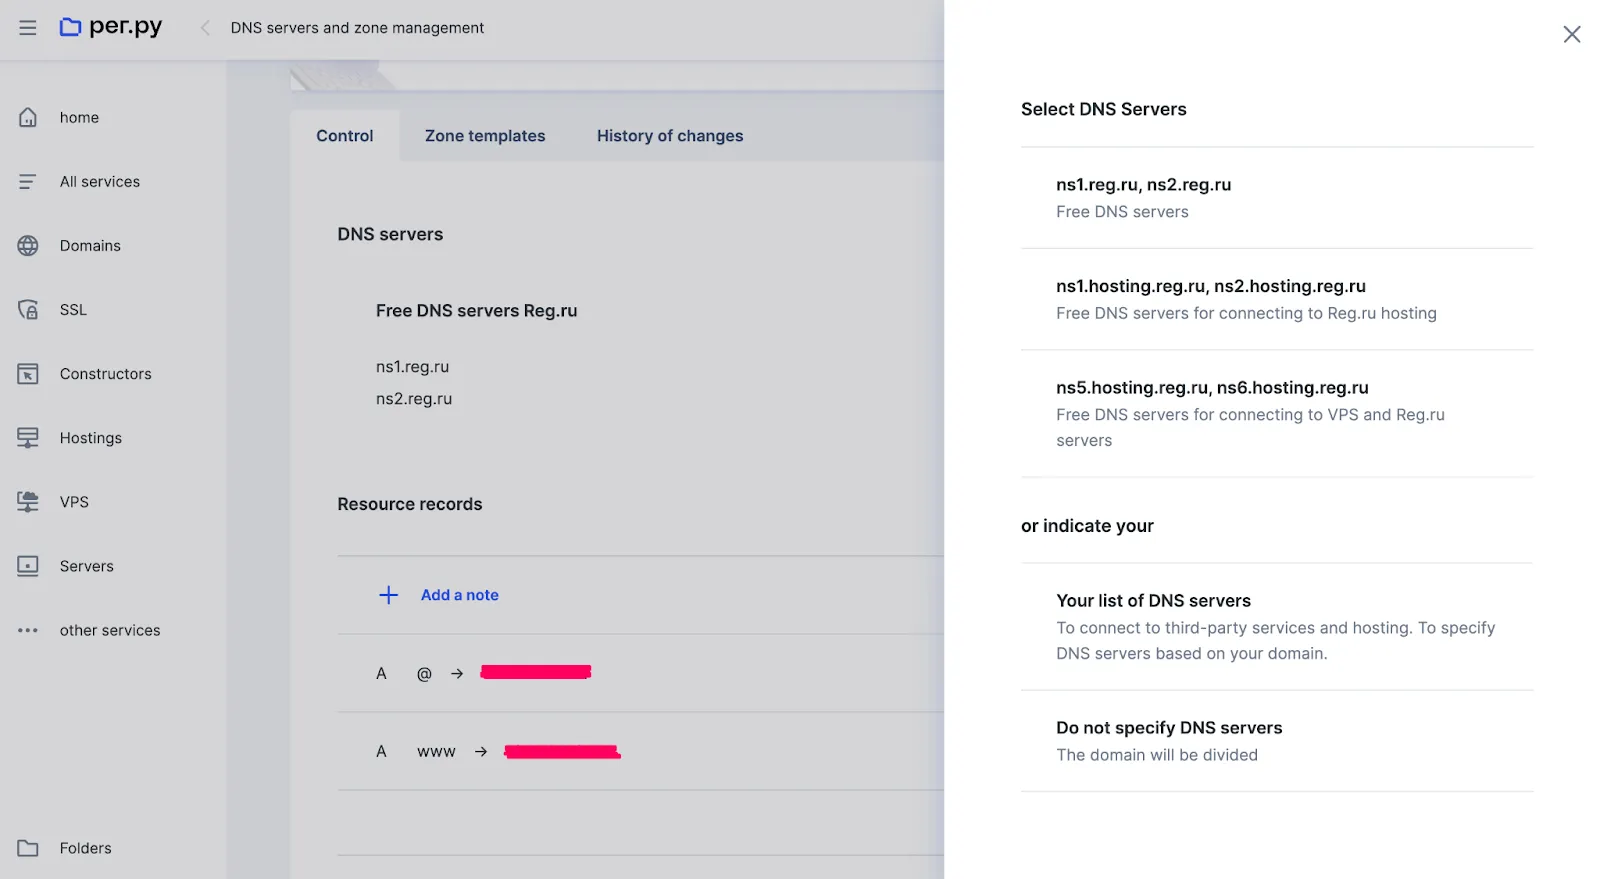
Set the specified DNS in Cloudflare and click Continue.
After that, go back to Cloudflare, go to the DNS tab – Record, click Add record, choose type A, write “@” in the name field, enter the IP of your server with the tracker in the IPv4 field, and click Save.
Now, the domain is connected to your server, and you can launch your advertising campaign on it.
Let's sum up
I think we can conclude today's article here. It turned out to be quite long, but the most important thing is that it’ll be useful to you! Don't be afraid of challenges and things that seem daunting and unclear. Everything is simpler than it seems at first glance, especially when you do it a few times. Wishing everyone significant profits and astronomical ROIs!
by Editor

comments ....(0)
Leave a comment
You must be in to leave a comment